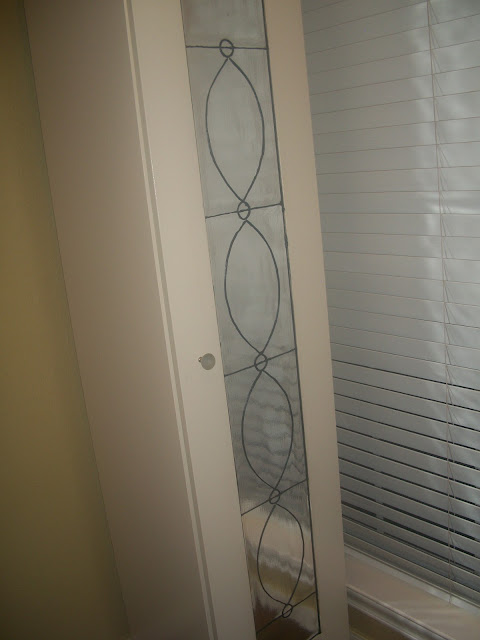
When we moved into our current home we quickly realized we did not have enough linen storage upstairs, so off we ran to Ikea & purchased this shelving unit. It fit the ticket & the bathroom where it was going live, the only thing is I did not care for the "wood" look or the plastic door panel! At the time I did not have anytime to make any changes as I was a new mommy to my twin angels, so it just sat there for a few years while I loved on my babies and worked up the courage to finally do something with this cabinet. The problem, well I just did not know how I wanted to change it. I knew I wanted to paint it, & I knew we had some low VOC paint that was left over from our cabinets so started with that. Originally it was a blond birch veneer, I am so glad I painted it, I think it looked better but it needed more. Now don't get me WRONG, I
love Ikea, but from the start I knew I wanted to change it.
Then I had this hair-brained idea to try this, YUCK~what a major fail, so off came the aluminium and once again I was left with the plastic door panel~
One day as I was looking through one of my old Ballard Designs catalog I remembered seeing these and thought, might I be able to do this to the door panel? YES~Yes I can do it!

This is what I came up with~ I wished I could have gotten a much better picture, I took tons but had few that looked good enough to post~
This is what I used to accomplish this look:
* Faux Mirror Scrap Paper
* Faux Lead
* Foam
* Tacky Glue
* Glass Knob
All bought at Hobby Lobby~
I first glued down the faux mirror, allowed it to dry overnight, then I made a template with the foam, measured out where I wanted to place the design & used a sharpie to trace it out, I used an old tack I had on hand for the small circles~
I am covering the design I traced out with the sharpie with the faux lead, boy this stuff was kind of hard to use as it would not give me an uninterrupted stream of lead so I needed to go over the design several times to get a consistent look~
Here it is all in all it's glory, drying! I added a new door knob I also changed out the feet (sorry not pictured)~
Well what do you think? I am pretty happy with it~
Thank you, for checking out my blog, I hope you stop by often, I also hope you will leave me some comments, I love comments & try to answer all of them~
Thank You & Many Blessings~


turned out fabulous
ReplyDeletetoday i gave you the Liebster award come see @ http://www.makinmyaptahome.com
It looks great!
ReplyDeleteI sure do appreciate you leaving comments & following me. I apologize for the delayed reply.
DeleteIt turns out really amazing. Great designs. Brilliant mind could just do that.
ReplyDeleteWire Shelving
Kate, I thank you for the lovely comment and I apologize for the delay in my reply. h ave a nice day!
DeleteThat was awesome .I was thinking of doing this in one of my rooms as the paint job is terrible.I was like looking for some painters in windsor to do some estimate, but after seeing all the work involved I will pass.
ReplyDeleteThank you much, try it, it is so easy~ Blessings
DeleteI discovered your web site via Google while looking for a related subject, lucky for me your web site came up, its a great website. I have bookmarked it in my Google bookmarks. You really are a phenomenal person with a brilliant mind! painter in phoenix
ReplyDeleteThank you much~Have a nice day.
DeleteThank you so much, so sorry for the delay. I really do appreciate comments.
ReplyDeleteThank you for your comment, I appreciate them.
ReplyDelete